Log Homes = Healthy Homes

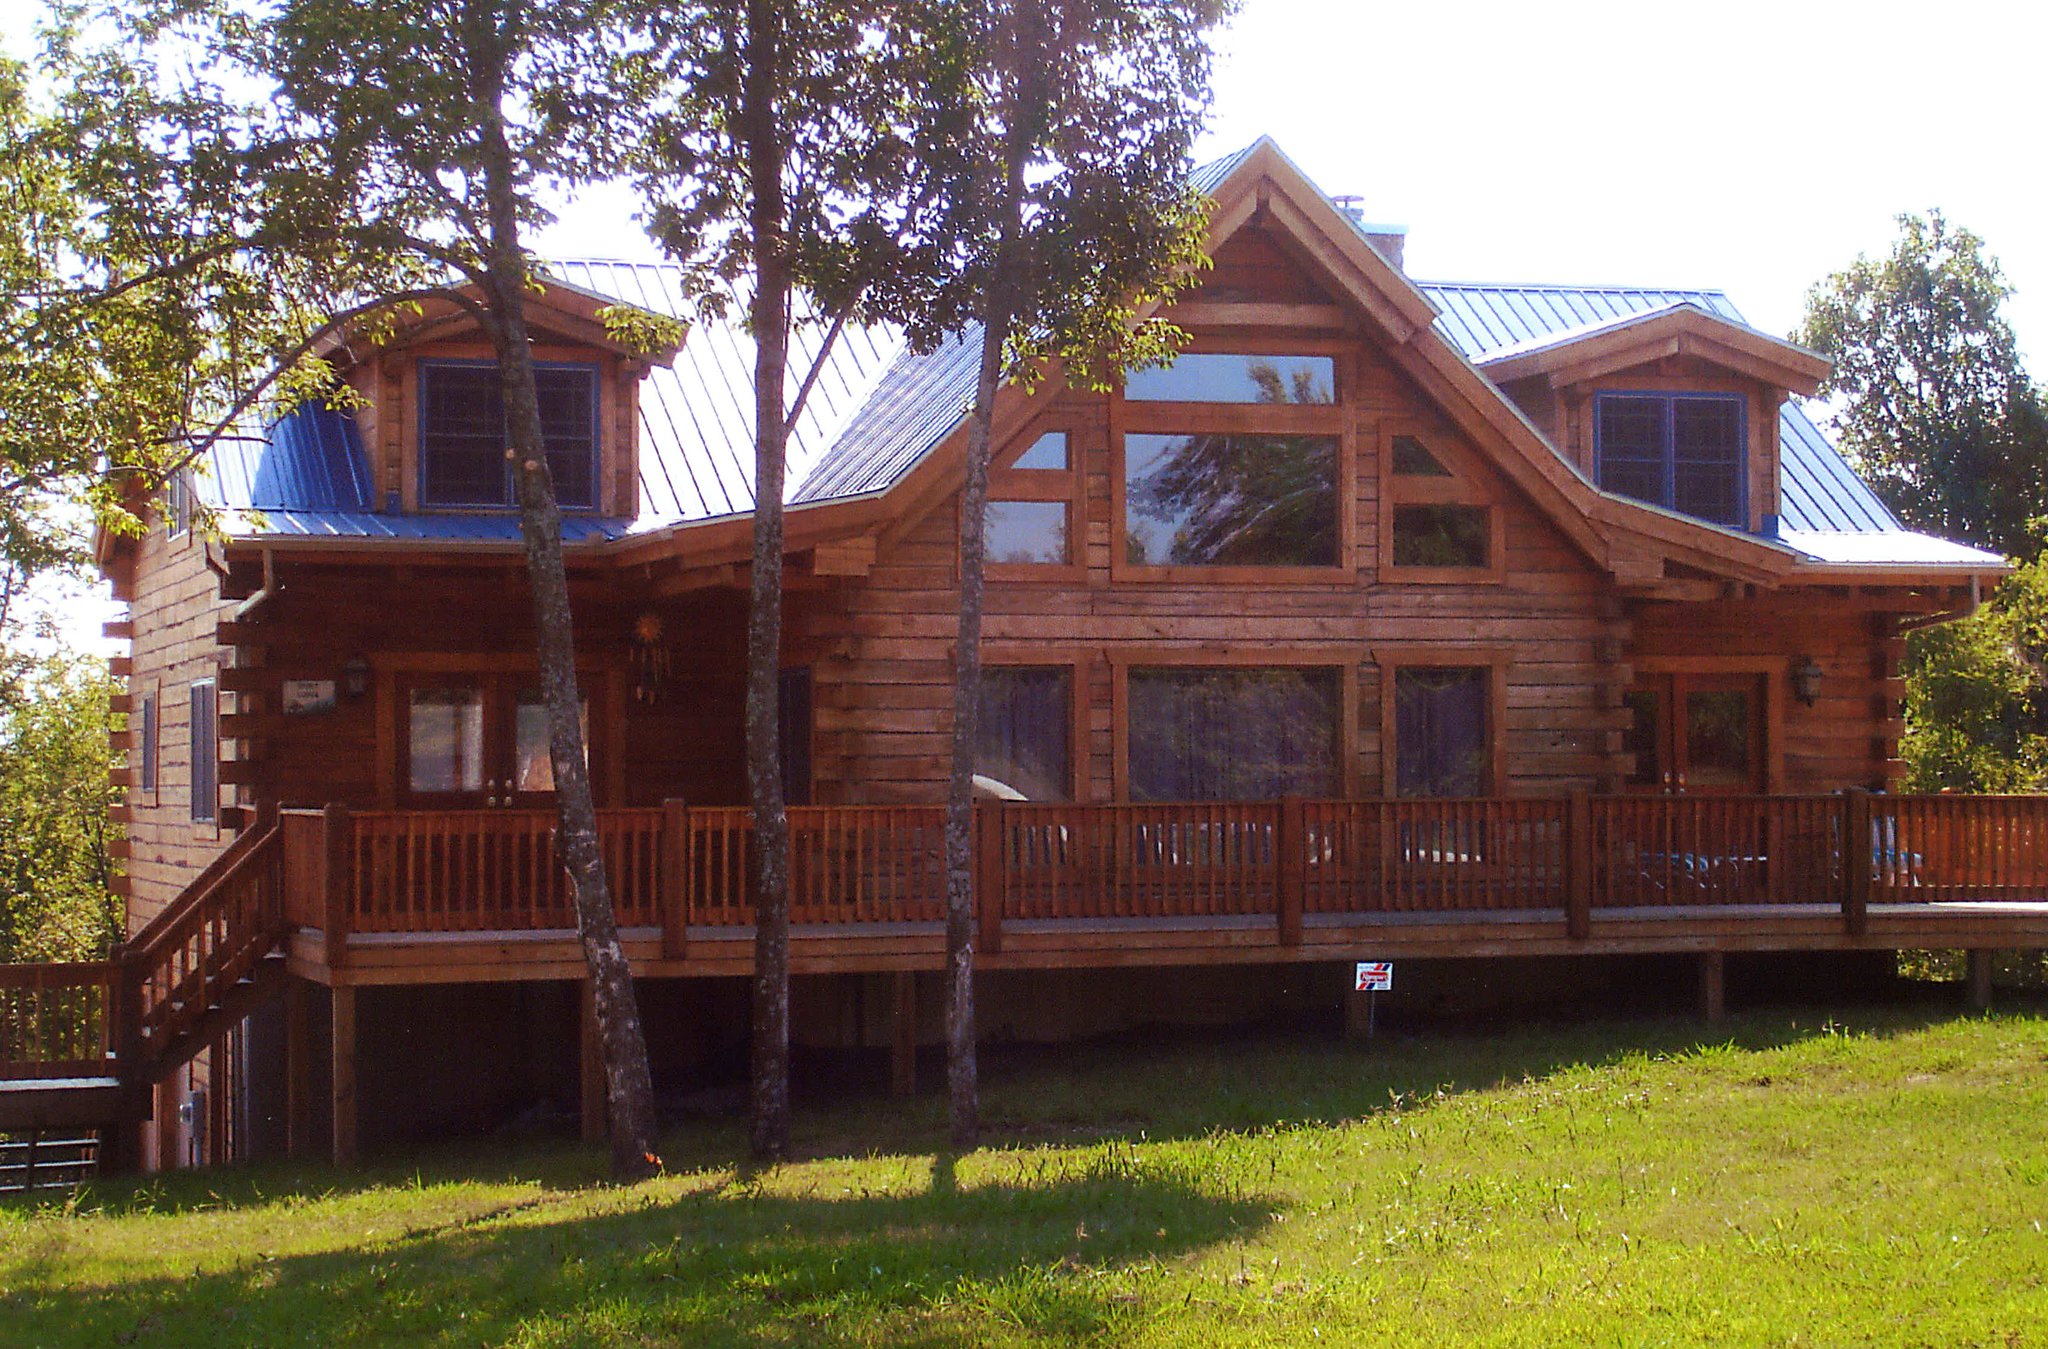
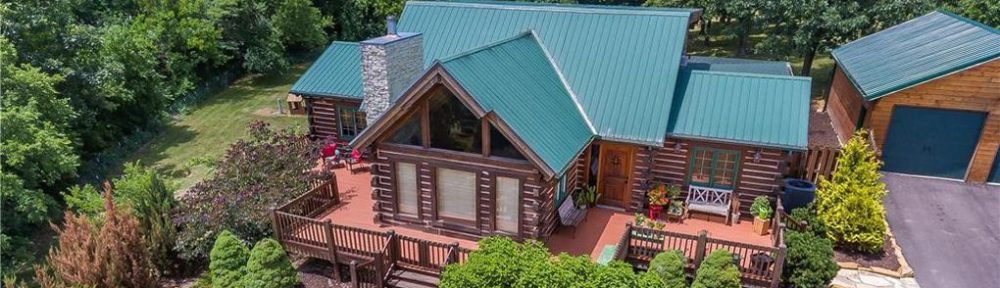
We really don’t need more reasons to live the log cabin lifestyle. For most of us, the beauty, nostalgia, permanence, and peacefulness of living in a log home are all the motivations we need to seek the log cabin life.

Everyone knows log homes are gorgeous, but did you know there are health benefits to living in a log home? The positive effects of wood, how it smells, how it looks, and how it feels helps to encourage relaxation and stress relief. Something else to consider is wood’s natural ability to clean the air which makes log home living a benefit to our lung health.

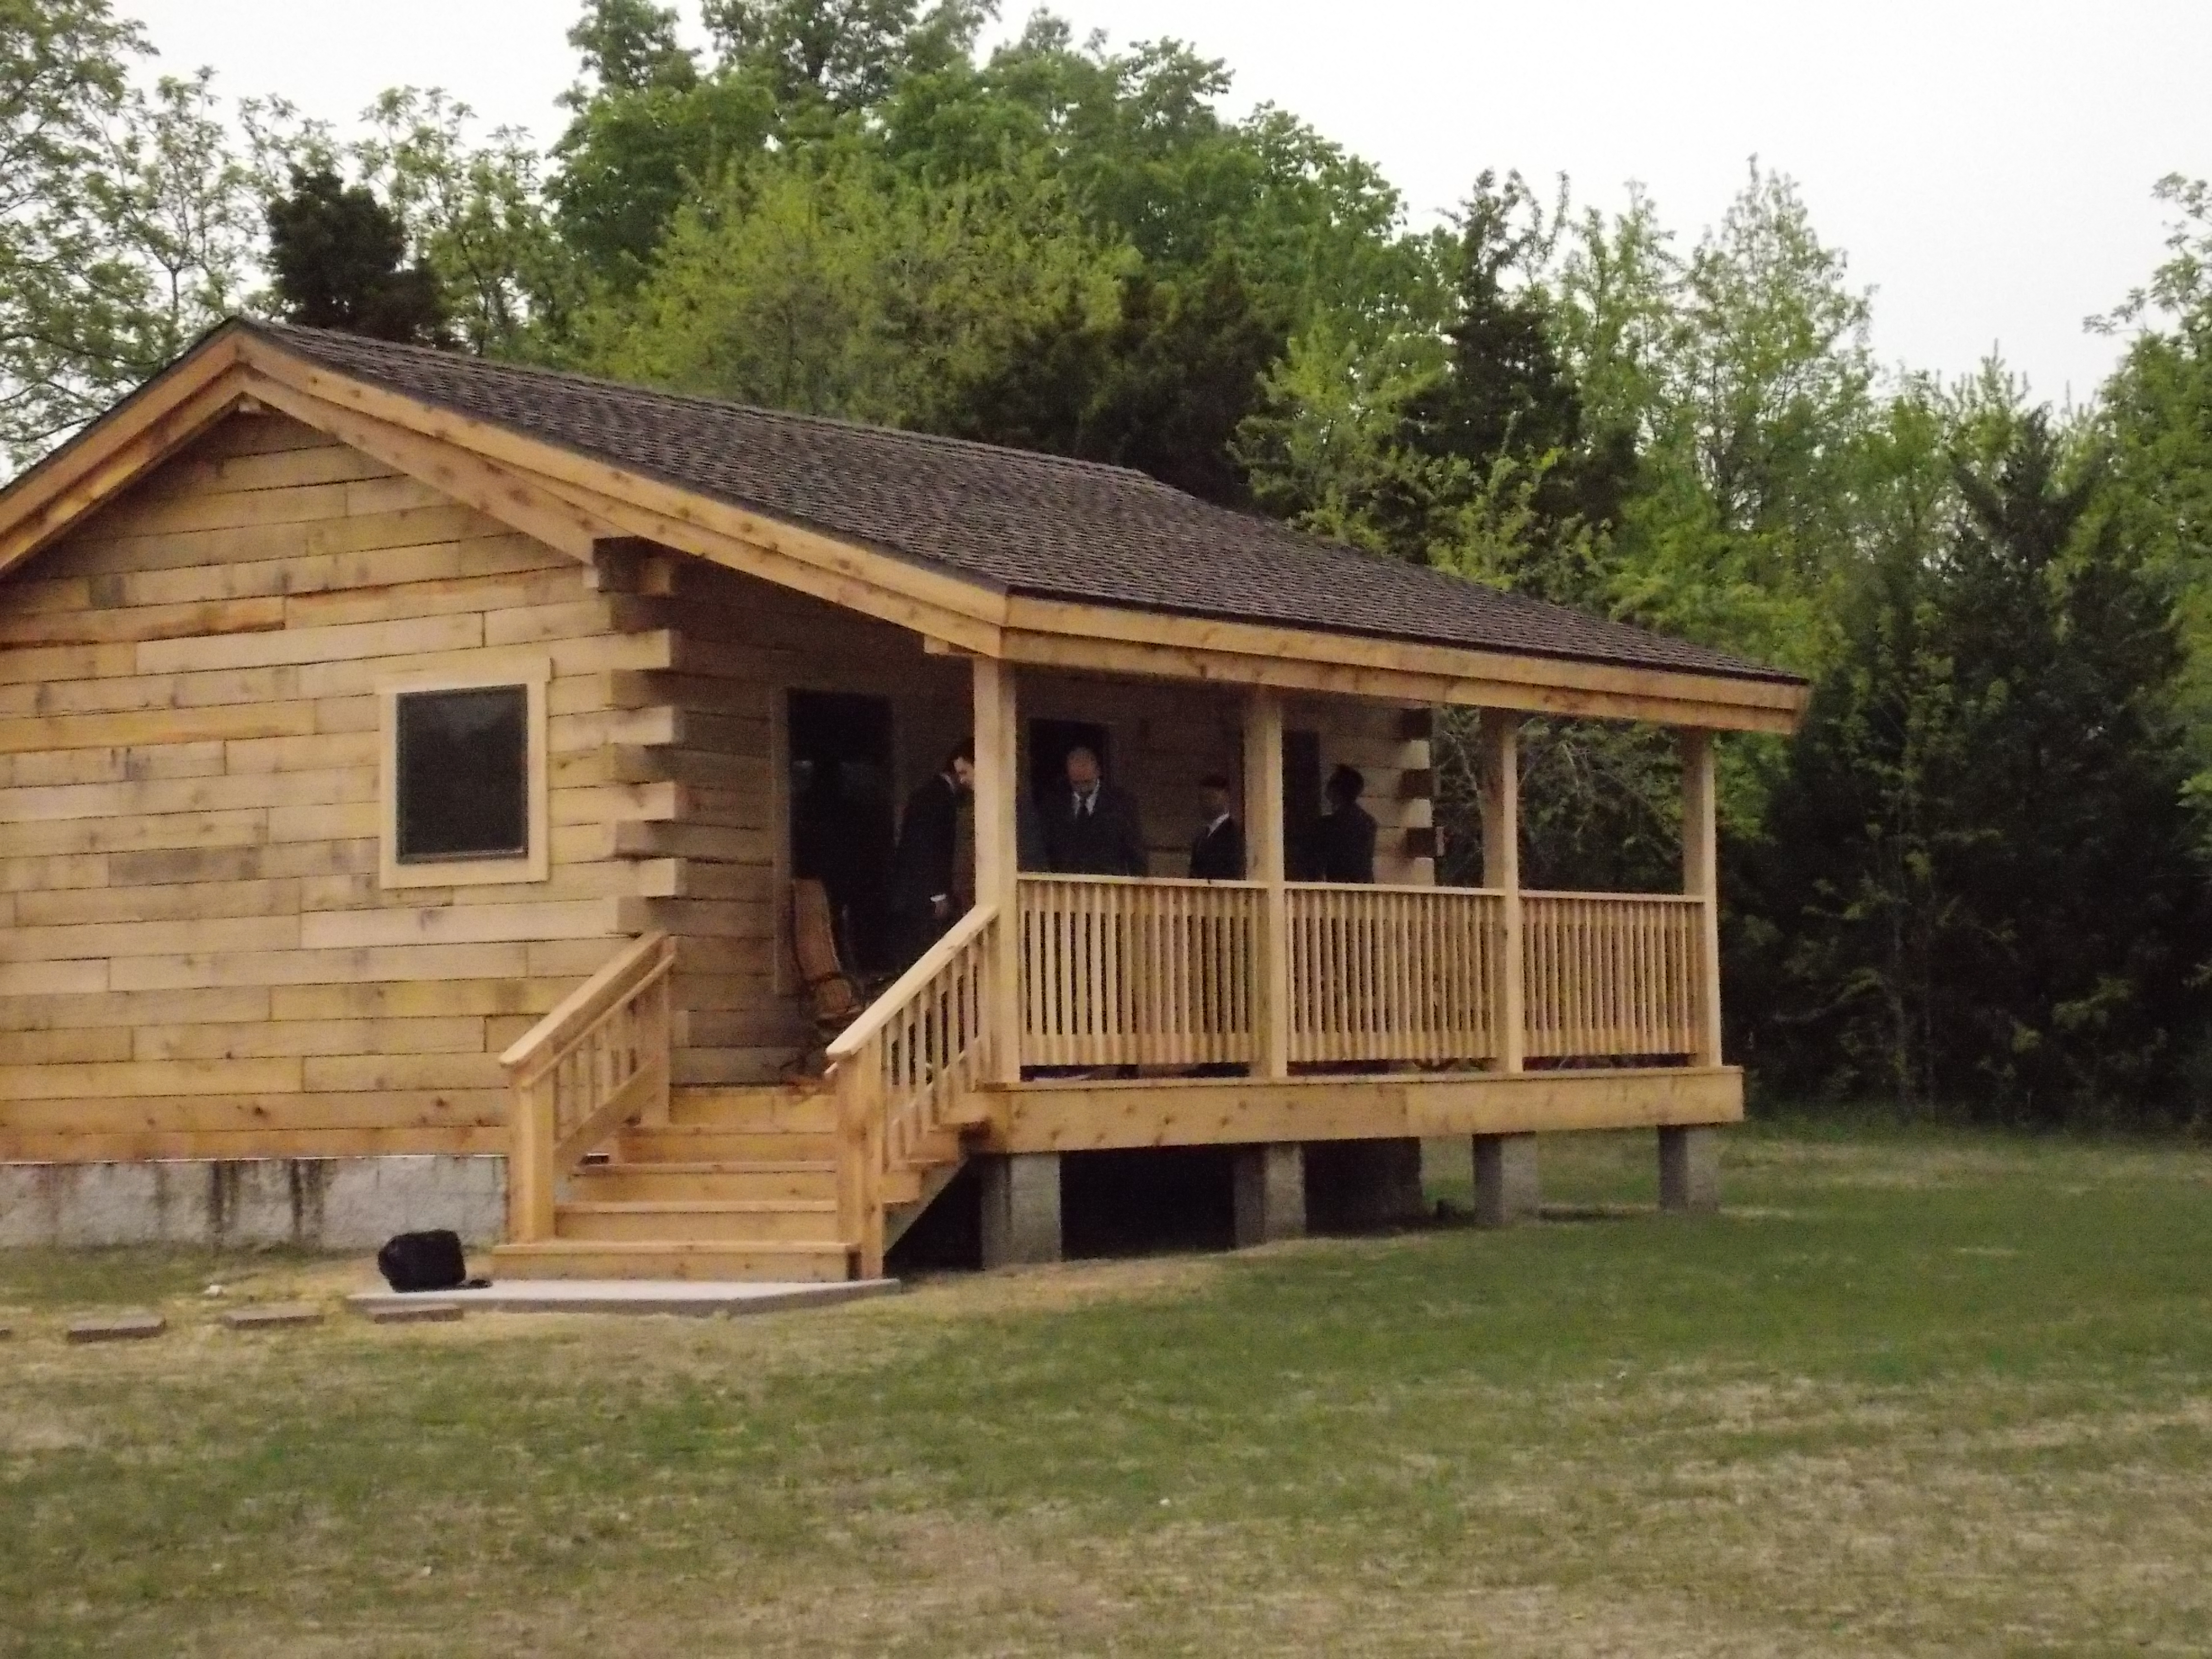
Folks who struggle with anxiety and depression find they may get relief from their symptoms simply by living in a log cabin in the woods. Living in a log home can increase endorphins, which are hormones that increase your feelings of euphoria and sense of well-being. Muscle tension melts away and blood pressure decreases in the tranquil ambiance of a log home.

Living in a log home can help calm allergies and improve respiratory wellbeing.

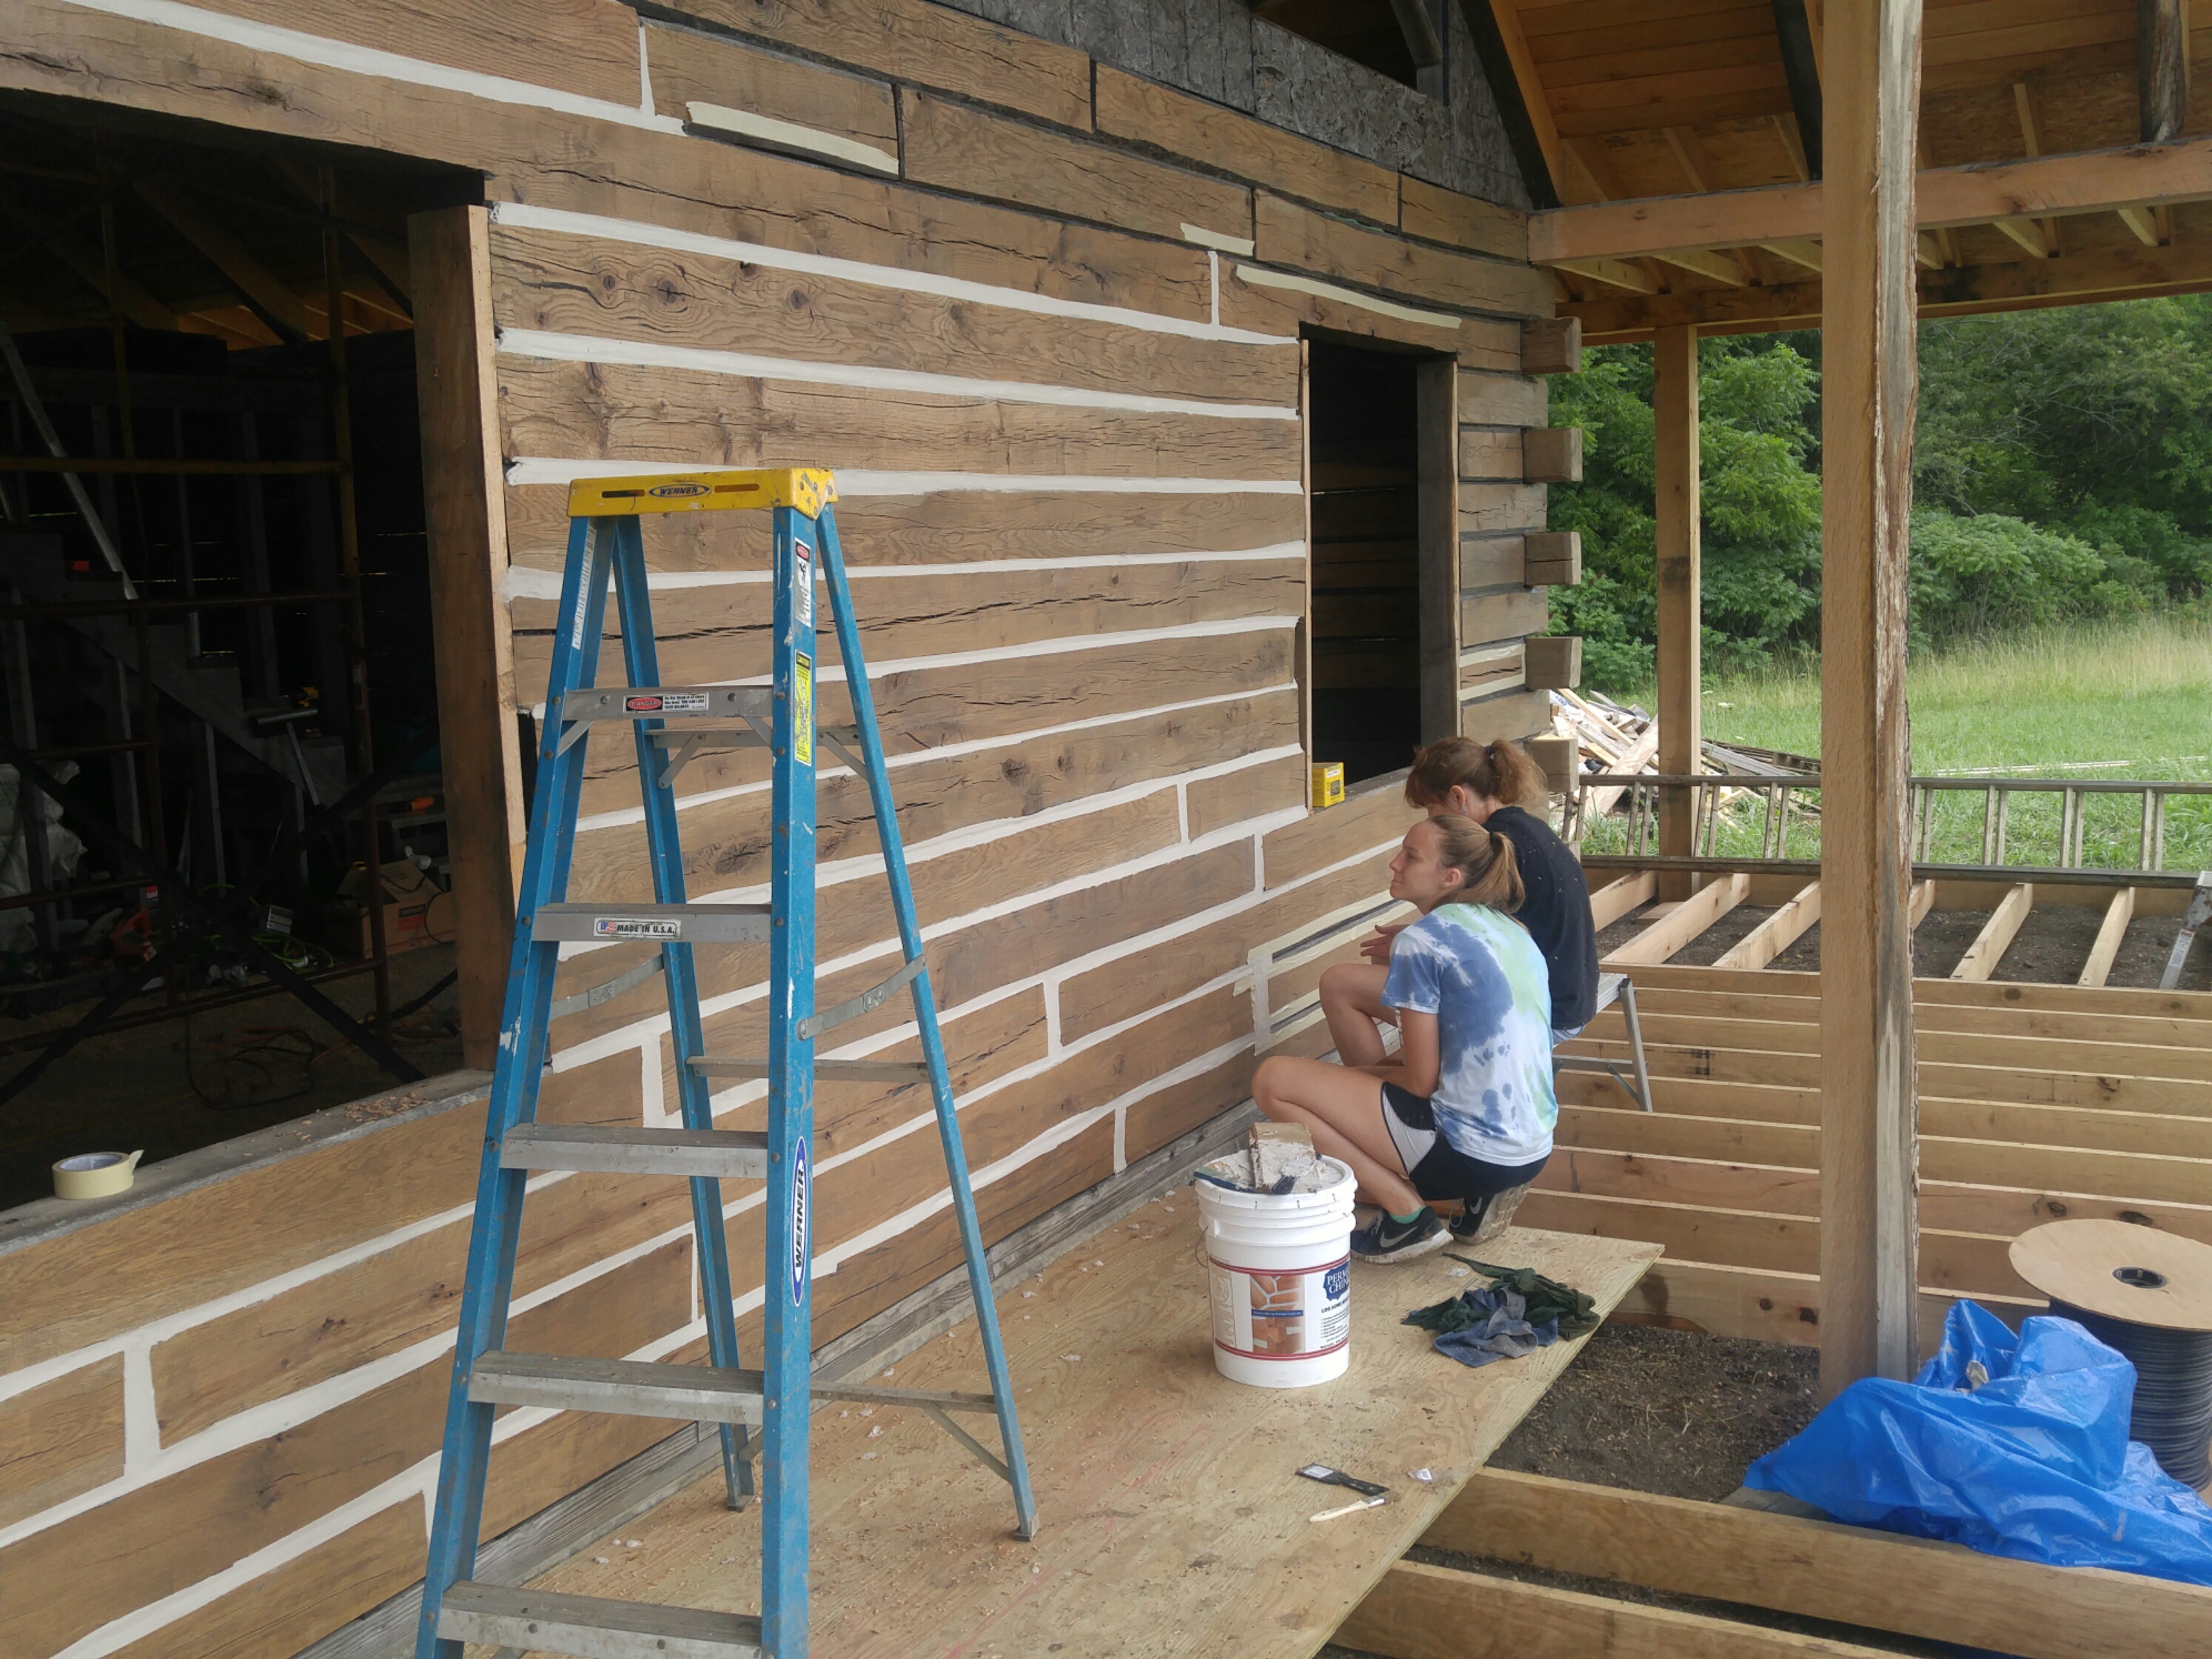
Log walls breathe naturally, they allow water vapor to move freely into and out of the wall structure this allows the indoor humidity to remain constant and therefore making it easier to breathe in a log house. Did you know when the relative humidity of indoor air is balanced, molds and bacteria cannot grow?

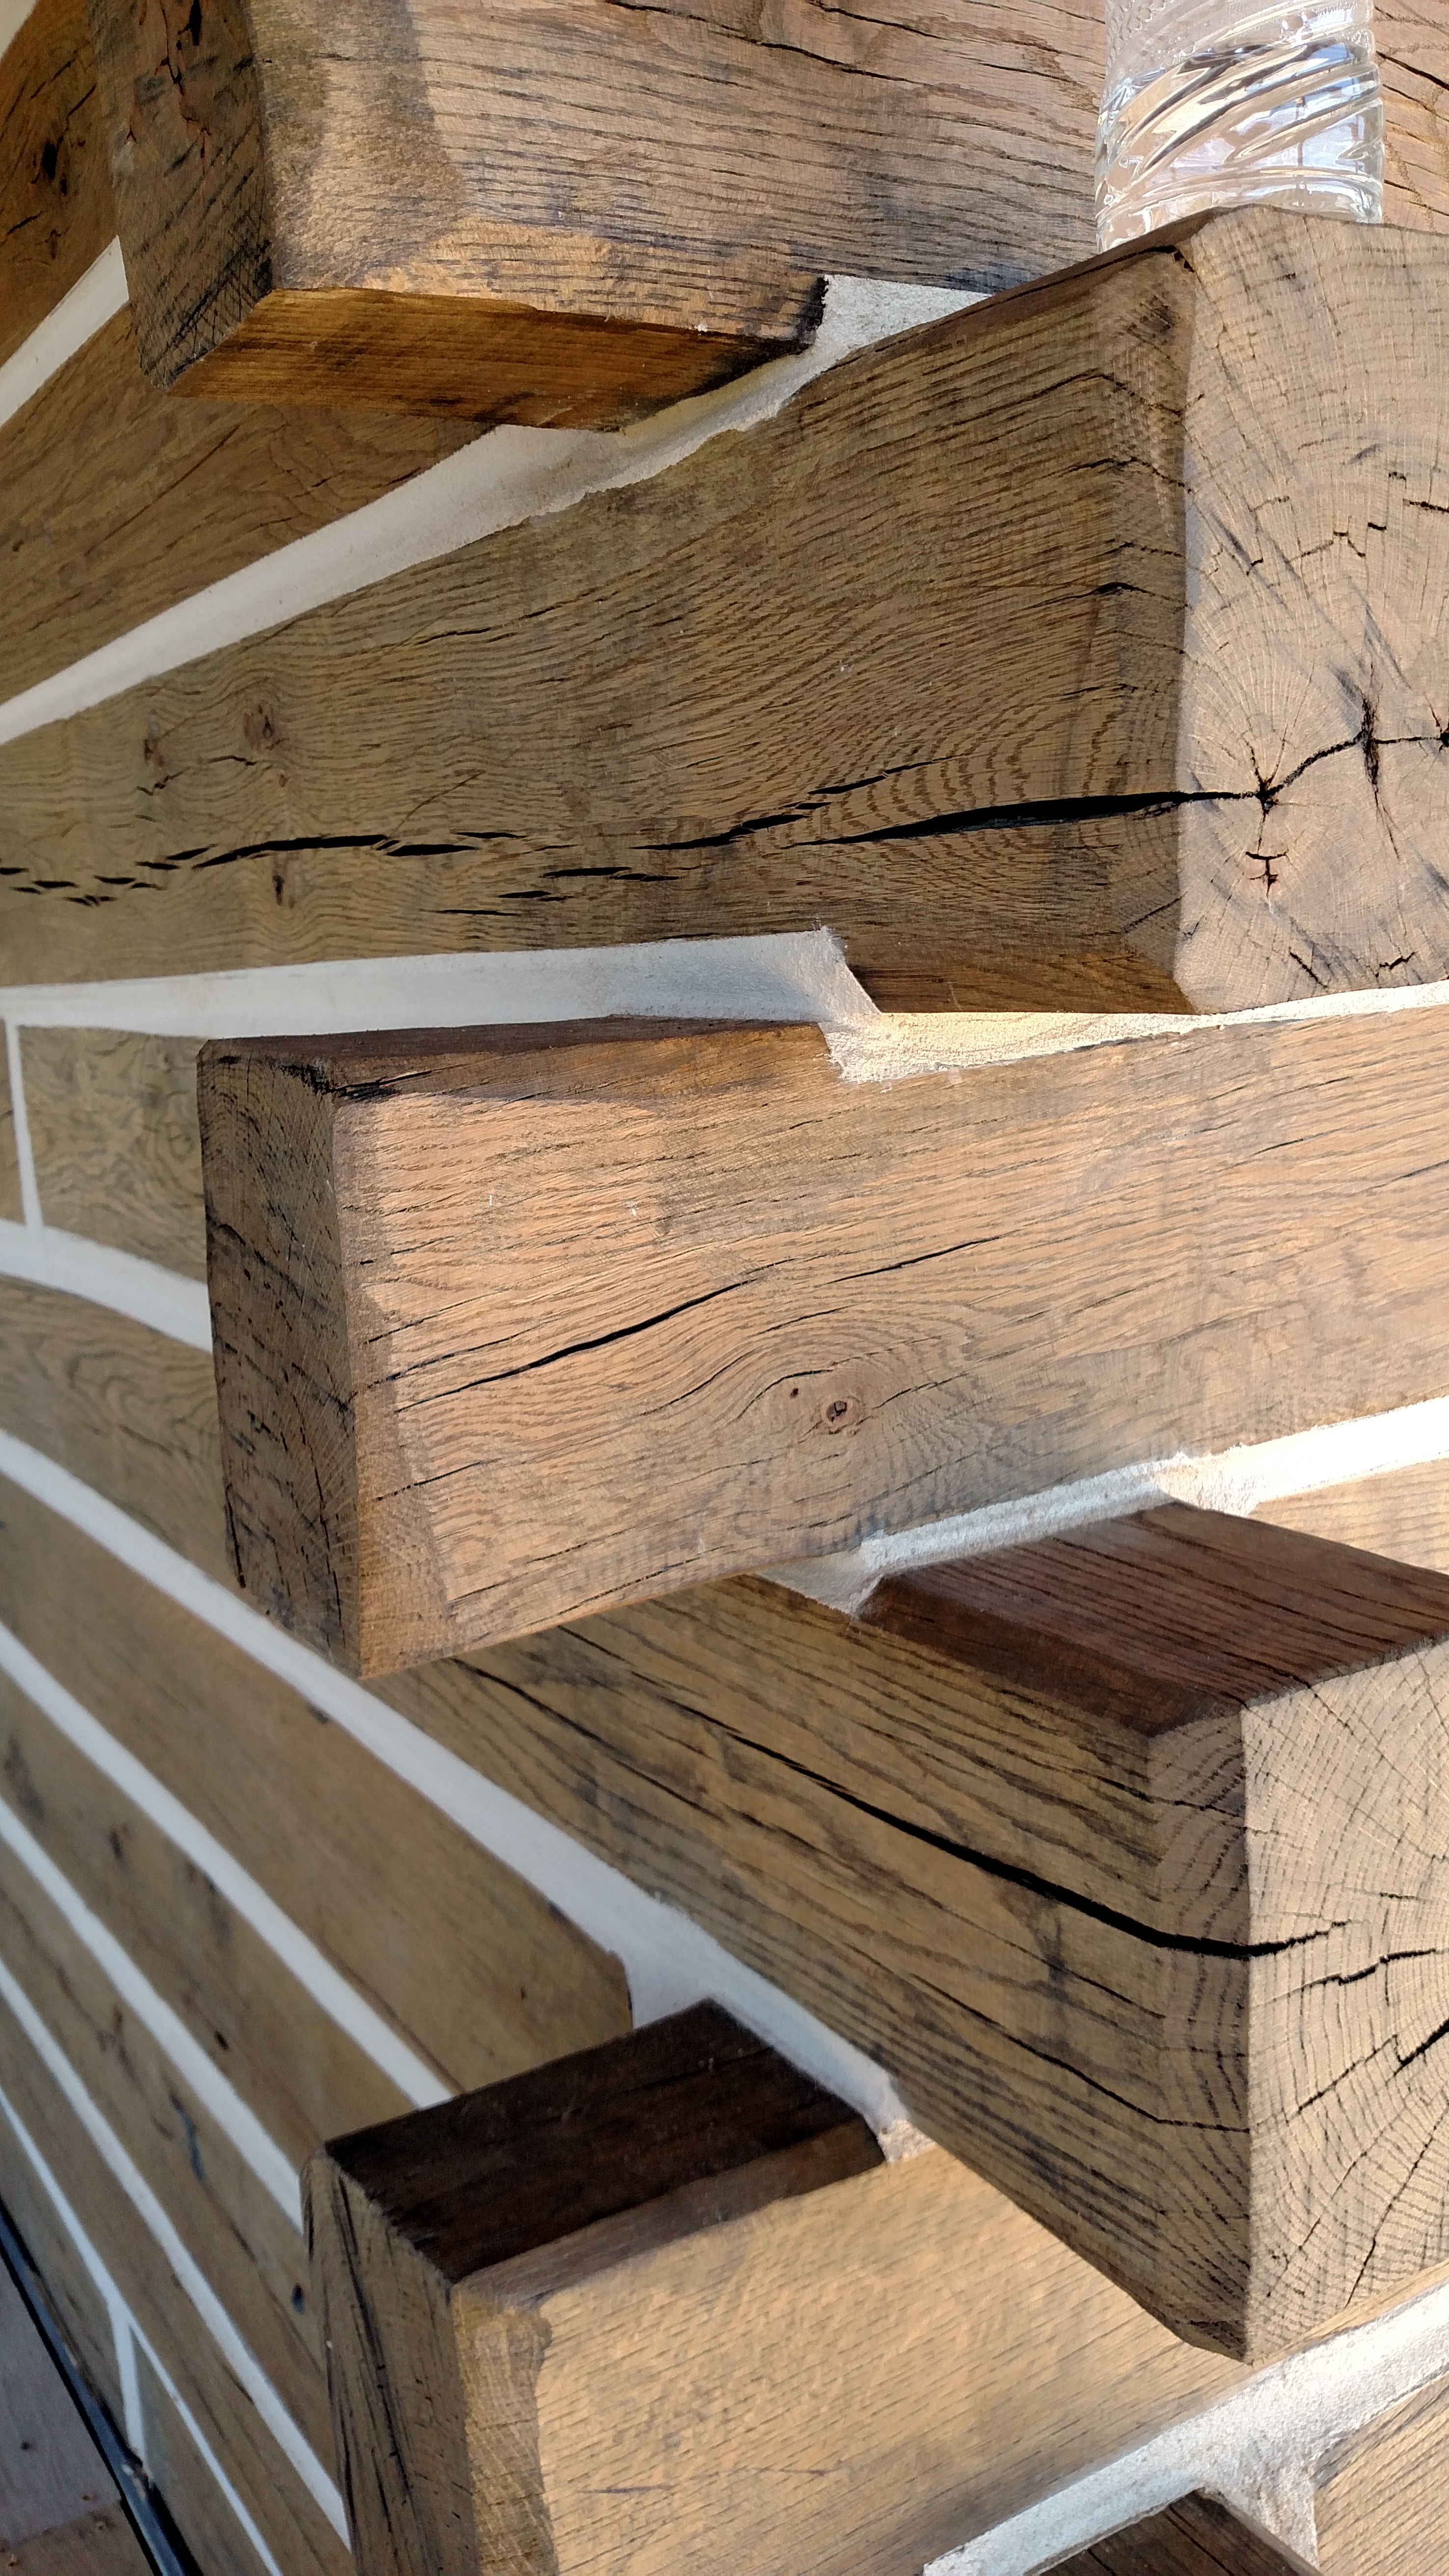
In addition, the natural Oak in Oak log homes does not off-gas like man-made building materials which are produced with chemicals infused into them. These chemicals release toxins over time into the home. The availability of less nocuous stains and sealers makes log homes a healthier choice.

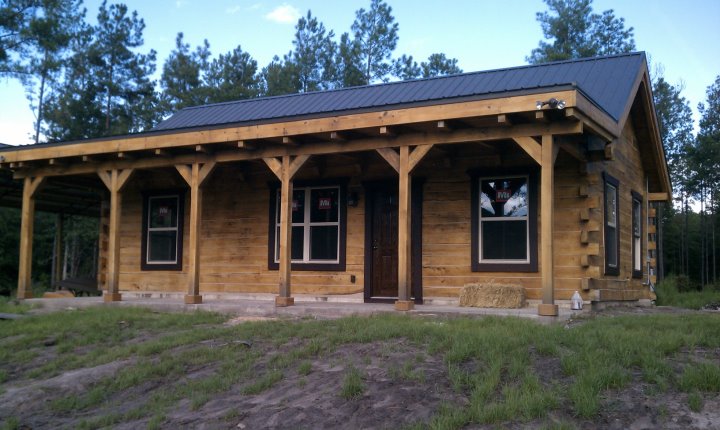
If you are looking for a home that will encourage a healthy, stress-free life maybe it’s time to look at an Oak log cabin kit from Schutt Log Homes. The log home life is calling you.

LWS

Nothing like an Oak log cabin in the woods

How About That Chinking?

At Schutt Log Homes and Millworks we get a lot of questions about chinking.

img_20160902_113856936_hdr

I’m going to take you through the process and hopefully give a few tips and tricks along the way. Although it’s not for everyone, chinking is one of my favorite things to do. Just remember don’t get in a hurry, you want a great looking finished project, so take your time and perfect your technic and you will cruise through it.

Chinking is a very important part of the construction of our Oak log home kits. The chinking is basically the glue that holds it all together. (Not really, we recommend Timber lock screws every 3 feet to hold the walls in place). But the chinking is still way up on the list of most important elements of the log cabin structure.

There are many types and manufactures of chinking out there. We have a few we recommend on our website.  We find the best product is one that remains somewhat pliable after application. This will allow for the shrinking and expanding of the logs without tearing the chinking as time goes by.

The process of chinking is rather simple. But it is time-consuming and must be done correctly to achieve the desired look and properly seal the spaces between the logs used in the walls. Once the technic is perfected the process speeds up quite a bit. As I said the process is simple but takes a little time to master. Don’t worry, while you’re building your log home you will get lots of practice chinking. You will be an expert by the end of your project.

I have never used the caulk gun method. Some people really like chinking this way and say it’s much faster. The steps will be the same other than you won’t need to fill the spaces with a putty knife, you will use the caulk gun to do it.

The materials you will need to get started are:

  • Backer rod- this is a roll of round foam used to fill the chamfered space under the chinking. This creates a better air barrier and reduces the amount of chinking you will use.
  • Chinking- usually a five-gallon bucket. Note keep the lid on the bucket as much as possible to prevent the chinking from drying out.
  • A small pallet (a Piece of scrap wood works great) about 12” x 12” to put chinking on. This makes it easier to walk down the wall and allows the lid to stay on the large bucket to keep the chinking from drying out.
  • Masking tape- The cheapest you can buy. You will be using a lot of tape.
  • Paintbrush- 1” or 2”
  • A container of water- something like a large disposable cup or bowl.
  • Clean cloth to wipe down the wall and clean up any oops.
  • Putty knife- I use the cheap plastic ones. They are flexible but not too flexible.
  • If the floors are finished place something on the floors in the event you drop chink. Cardboard or trash bags work well.
  • Trash bag or bucket to put the used tape in. Buckets work best for the tape

So, let’s get started learning how to chink. I will try to keep it simple and make the process clear.

  • The first thing I do is turn on my favorite music or audiobook. Then pick where you want to start. I recommend in a closet or where cabinets will go, this way it will be hidden if you make a mistake.
  • Wipe the wall to clear off any dust.
  • Pack the backer rod in the back of the V-space created by chamfering. Try to get it as tight as possible and be sure none of the backer rod is protruding beyond the edge of the log. It will show through the chink.100_2915
  • Use the masking tape on the flat side (the side facing you) of the chamfered edge of the log. The tape will keep the chinking off the wall where you don’t want it. This part of the process takes some time to perfect. Try to follow the chamfered line closely. It will not be a perfectly straight line which is perfectly fine. The varying chink line adds to the personality of the cabin.
    • Only tape as much wall as you will finish in a couple hours. If you leave the tape on the wall longer than an hour or two the tape will be difficult to remove. You will get very frustrated.100_2912
  • Use the putty knife to take a few big scoops of chinking out of the bucket and put it on your Pallet.100_2913
  • Fill the chamfered space on the wall using the putty knife. Be sure to push the chinking into the V-space. Use the putty knife to scrape excess chinking to make it even with the log wall. Your lines will not be perfectimg_20160902_114348367
  • Wet the paintbrush with water. Use the paintbrush to lightly brush the chinking in one direction. This step will smooth the chinking and make the edges blend.
  • Wait about 5-10 minutes. Do NOT let the chinking dry before you pull the tape. It will be a mess!
  • Pull the tape being careful not to touch the chinking line.
  • If you do damage the fresh chinking use your wet paintbrush or wet your finger and smooth it out.
  • Wipe any runs off the wall.0714161221a_resized

There you have it. Simple, right?

Some important tips to remember are:

  • Don’t let your chinking dry out.
  • Don’t leave the tape on the wall very long.
  • After you apply the chink do not let the chinking dry before you remove the tape.
  • Wipe the runs off the wall as soon as possible.
  • If you don’t finish a complete line taper the chinking down so when you continue the joint will be blended and not visible.


LWS


400 sf Oak Log Cabin Kit is Perfect Tiny House

Hunting Cabin

Hunting Cabin

Schutt Log Homes and Mill Works sells this 400 sqft Oak log cabin kit which makes the perfect tiny house. This little Log cabin is designed to be a do it yourself project. It can be built on any small lot or is a great tiny getaway home in the woods. This little cabin has a small footprint of 16 ‘x ’25 so it doesn’t disturb the environment around it.

Schutt Log Homes Hunting Cabin Kit

Schutt Log Homes Hunting Cabin Kit

This cabin kit is crafted from Oak logs which are used for the exterior walls and for the interior walls (no need for sheetrock!) These Oak logs are energy efficient, at either 4″ or 6″ thickness they will stay warm in the winter and cool in the summer. This tiny log cabin kit comes with hardwood ship lap for the ceilings, a cozy loft, and a covered porch.

Schutt Log Homes Hunting Cabin Kit

Schutt Log Homes Hunting Cabin Kit

Schutt Log Homes Hunting Cabin Kit

Schutt Log Homes Hunting Cabin Kit

Schutt Log Homes Hunting Cabin Kit

Schutt Log Homes Hunting Cabin Kit

Schutt Log Homes sells each of these little kit cabins with a detailed building manual to make it possible for the person with even limited carpentry skills to build one.

Schutt Log Homes Hunting Cabin Kit

Schutt Log Homes Hunting Cabin Kit

Patrick Schutt Owner of Schutt Log Homes and Mill Works is available to answer questions. He can talk most people through any building situation that may arise. With 20+ years of log cabin building experience there is very little he hasn’t come across. Patrick’s love for carpentry and his product shines through when he talks about his product. With the current trend in downsizing, Schutt log homes believes you can go tiny but still have a home that is comfortable and spacious.

OLYMPUS DIGITAL CAMERA

These small Oak log cabin kits also make a great off the grid alternative. They are simple to build, easy to heat, easy to maintain and can be modified to suit any need or want.

Schutt Log Homes Hunting Cabin Kit

Schutt Log Homes Hunting Cabin Kit


These Oak log cabin kits make it possible for almost anyone to own a log cabin. And who wouldn’t want to live in one of these charming homes? Just imagine a cozy fire in the wood stove, curled up with a good book. Or sitting in your rocking chair on the shaded front porch, feeling a cool summer breeze and listening to the birds.

These small cabins can also be purchased in a 560 sqft, 2 bedrooms, or a 700 sqft, 3 bedrooms, if you need a little more room for the family.


Schutt Log Homes Hunting Cabin Kit

Schutt Log Homes Hunting Cabin Kit

Each tiny log cabin can be made to be your own little piece of heaven.


LWS

7 usefull tips for chinking your log home- from Schutt Log Homes and Mill Works

Schutt Log Homes and Mill Works

An example of contrast in chinking

When properly applied chinking will dramatically improve the energy efficiency  of the log home. Schutt Log Homes and Mill Works has chinked many Oak log cabins over the years and we would love to share a few of the things we have learned about chinking.

  1. Today’s chinking material is elastometric (very flexible) which can stretch and contract with the logs as they move seasonally. Chinking is needed to stop air, moisture and insects from getting into the log home. Chinking also increases the insulation of the home substantially.
  2. It is necessary to use a backer rod behind the chinking. This fills the air space between the logs, which improves insulation increasing the r value of the log. The baker rod also creates a non-adhesive surface for the chinking. This allows the chinking to shift with the logs. Backer rod also helps reduce the amount of chinking used by filling the space between the logs.
  3. Chinking can also be a design element in the home. Today’s chink comes in a variety of colors which makes it possible to add contrast and style to the log home.
  4. There are several methods of applying chinking to the log home. Manufactures make a variety of caulk type guns which can be used to apply the chinking. At Schutt Log Homes and Mill Works we use the old fashioned low tech method of a putty knife and a small container of chink. We tape above and below the chink void in the wall, then fill the void with chink using the putty knife.  It is important to go back over the area with a wet brush to smooth the chink. This method may not be the fastest or easiest way but we like the results and feel extra effort is worth it. 
  5. Chinking is a water based polymer that can freeze before it fully dries. Some chinking materials are not affected by freezing, the curing process will continue when the chink thaws. Check with the manufacturer.
  6. Your chinking and log finish are important aspects of your log home. Be sure you’re your log treatment and your chinking material are compatible. This just takes a quick phone call to the manufacturer to verify and can save tons of time and money in the long run.
  7. Although it is unlikely properly applied chinking will split or pull away from the log it does happen in some cases. This does not mean the chinking is defective. If the chinking tears in the center just clean the affected area and reapply new chinking to the affected area. If the chinking pulls away from the log it will need to be replaced. This is not a difficult process. Cut the loose sections away, make sure the backer rod is still intact (replace if needed), clean the area and reapply the chinking.
  8. This is a chinking coverage estimator. This will help when figuring how much chinking you will need for your project.


Chinking is an important aspect of log home building and living. A good understanding of the purpose and process of chinking your log home will go a long way in achieving the look and feel you desire for your log home. Schutt Log Homes and Mill Works we hope your log cabin dreams become a reality. We are here to help in any way possible.


Please check out our web site at http://oakcabins.com/

Or our blog at https://oakcabins.wordpress.com/

Schutt Log Homes and Mill Works

Taped and ready to go

lws

Must have tools for building your Oak log cabin kit

At Schutt Log Homes and Mill Works we have had years of experience building Oak log cabins and Oak log homes. In our experience we have found some tools that are a must have when building a log home kit. There is a lot of hype about some of the latest tools and gadgets but we have found for the most part a few old stand-by’s will get the job done efficiently and correctly.

Below is a list of the tools we recommend. Of course everyone has their favorite brand or go to tool. These are the tools, in our experiences, we found to work the best for us.

Chainsaw- We prefer Stihl, but any good brand with a sharp chain will do.

A chainsaw will be one of the most valued tools you will use when building your log home. This tool is portable and versatile. We use a chainsaw to cut the logs to length, to true up wall ends, to trim, notch, wedge, cut out and any variety of cutting to be done on the logs, rafters, joists, you name it. A chainsaw works much more efficiently than a circular saw for cutting the big stuff

Schutt Log Homes and Mill Works

A chainsaw is a must have!

.

1/2″ Heavy duty electric drill- We like Makita or Dewalt, they seem to hold up.

A good 1/2″ electric drill is priceless. The drill is used to predrill holes for the TimberLOK screws and to drive the screws in. The drill with a paddle bit is used to counter sink the TimberLOK screws to make all the surfaces flush. This allows the logs to lay level and allows a smooth surface for the planer.

Electric Hand Planer- Makita or Dewalt. same deal, they seem to hold up.

This tool will get used a lot! As the courses of logs are placed the logs are planed to make a level spot to place the next log. When all the logs are in place the face of the logs will be planed to make a clean, smooth surface to apply the chinking and log preservative. The rafters are planed to make a flat, level surface for the roofing material. This tool is a must have.Schutt Log Homes and Mill Works

Sledge-Hammer- Any good heavy brand will do.

For those delicate adjustments. Haha. A good sledge-hammer will save your back when it comes to moving the logs just a few inches this way or that way. It’s a great work horse.

Tape Measure- Any good brand. Buy several they always disappear.

A good long tape measure is a must. It will get worn out! Measure twice, cut once. Need I say more?

Level, Square, C-clamp- These are pretty basic tools for every carpenters tool box.

We recommend having a couple different sizes of each of these items. Depending on the application a long level will work better a small square will be better. Having several c-clamps on hand is always a good thing to hold the logs or lumber in place until it can be affixed permanently.

These are the basics. Of course there will always be a few other tools needed along the way as the log cabin gets into the finish carpentry stages. Schutt Log Homes and Mill Works will be happy to assist you with any building questions. Our log home experts have the knowledge and experience to guide you through your Oak log cabin building process.

LWS

5 Myths about Log Homes

Featured

There are many myths and misconceptions floating around out there about log home building and living. We would like to try to dispel a few of the most common things people are concerned with when deciding if log home living is for them. Schutt Log Homes and Mill Works has been selling Oak log cabin kits for over 10 years and has built their fair share of Oak log homes. Over the years we have heard many myths about log home construction and maintenance, and now we would like share some information we have found to be true about a few of these myths.

1.Log homes are not energy efficient.

We have heard this myth many many times. The fact is, Oak log homes are very energy efficient. Oak by its nature is a dense wood and is excellent at storing heat. Once an oak log is warmed it will continue to stay warm. The reverse is true in the summer, when an Oak log is cooled it will stay cool. A well built Oak log home can retain heat as well or better than a stick framed home. A heating and cooling system in a log home can be up to 15 percent more energy efficient than the same system in a similar traditional wood frame home. Double or triple paned windows will add to the efficiency. It is because of this fact log homes are still being built in some of the coldest regions.

2. Log homes are high maintenance.

The fact is once the Oak log home is built it is relatively low maintenance, provided care is taken during the building process. After the logs are placed a chinking material is placed between the logs and a wood preservative, sealer is applied. That’s it! No drywall, plaster, mud, painting. Depending on the manufactures recommendations most log preservatives need to be reapplied every 5-10 years which is comparable to painting stick homes. Finding a crack in the wall may seem like a major ordeal to a log home, but the truth is, it’s perfectly natural for wood to crack. These cracks pose no structural problems and might just need to be sealed with chinking and a wood preservative.

3. Log homes take longer to build than a stick home

When building an Oak log home the walls go up quickly. Once finished with the log wall you have the interior wall, exterior wall, structural component and insulation of the home complete. Once the Log walls are all up the exterior of the house is complete except for the chink and wood sealant. A framed home has many more steps, framing, plywood, moisture barrier, insulation, siding, drywall, plaster, sanding, plaster, sanding and painting…

4. Log homes are not fire resistant

The truth is Oak is extremely fire resistant. The natural insulation properties of solid log walls is one aspect to be considered. A solid log wall is very resistant to fire due to its mass. Solid log walls are extremely slow to spread fire as compared to traditional frame walls. When a fire enters a frame wall a chimney is formed in the air pockets causing rapid spread of the fire. Since there are no air pockets or cavities in log walls fire is slow to spread.

5. It’s difficult to find a log home builder

This is not true at all. Many builders specialize in log home construction or have log home experience. When a log home builder is not available, conventional builders can learn from construction manuals provided by log home companies. Schutt Log Homes and Mill Works provides a detailed construction manual with each of our Oak log cabin kits.

Though we know there are many more myths out there, we hope we have helped answer a few of the common concerns most people think of when they consider log home living. Schutt Log Homes and Mill Works will be happy to answer any other questions or concerns you may have when debating whether or not living in a log home is right for you and your family.

Mountain View- oakcabins.com

Mountain View – Schutt Log Homes and Mill Works

lws

Oak Log Cabins and Log Shrinkage – Schutt Log Homes and Mill Works

A common question we get asked here at Schutt Log Homes and Mill Works is “what about log shrinkage as the Oak logs dry?”.Schutt Log Homes and Mill Works

Oak logs shrink there is no getting around that fact. When the Oak is selected and handled properly the drying process is seen as giving character and quality to the log home. As Oak dries it becomes much denser making it harder. Basically Oak gets better with age. With proper chinking and sealing the log cabin will remain insulated and water tight through the shrinking process.

When an Oak tree is sawn it has a very high moisture content (MC), sometimes up to 80%, where a dry piece of timber inside a building can have a MC as low as 8%. In the beginning as Oak dries it loses what is known as ‘free water’ from it’s cell cavities. Once the ‘free water’ is evaporated the timber is said to have reached its fiber saturation point (FSP). In Oak this is around 30% MC. Next the Oak will begin to lose what is called “bound water”, this is the water contained in the cell walls. When the bound water evaporates is when the shrinkage in the timber begins.Schutt Log Homes and Mill Works

An Oak log in a home can typically reach a MC of about 12% after several years. The rate of the moisture loss will affect how much an Oak log will shrink. The faster Oak loses it’s bound water in the cell walls the more it will shrink. Oak contains longitudinal cells called vessels which are straw like. When these vessels are allowed to dry very slowly in a stable manner shrinkage is drastically reduced.Schutt Log Homes and Mill Works

Schutt Log Homes and Mill Works allows our Oak logs to dry naturally to keep the drying process as slow as possible. When our logs are shipped the moisture content will generally be between 18-20%. This will allow the logs to dry slowly and naturally in their new environment.

Schutt Log Homes and Mill Works

Mountain View

LWS