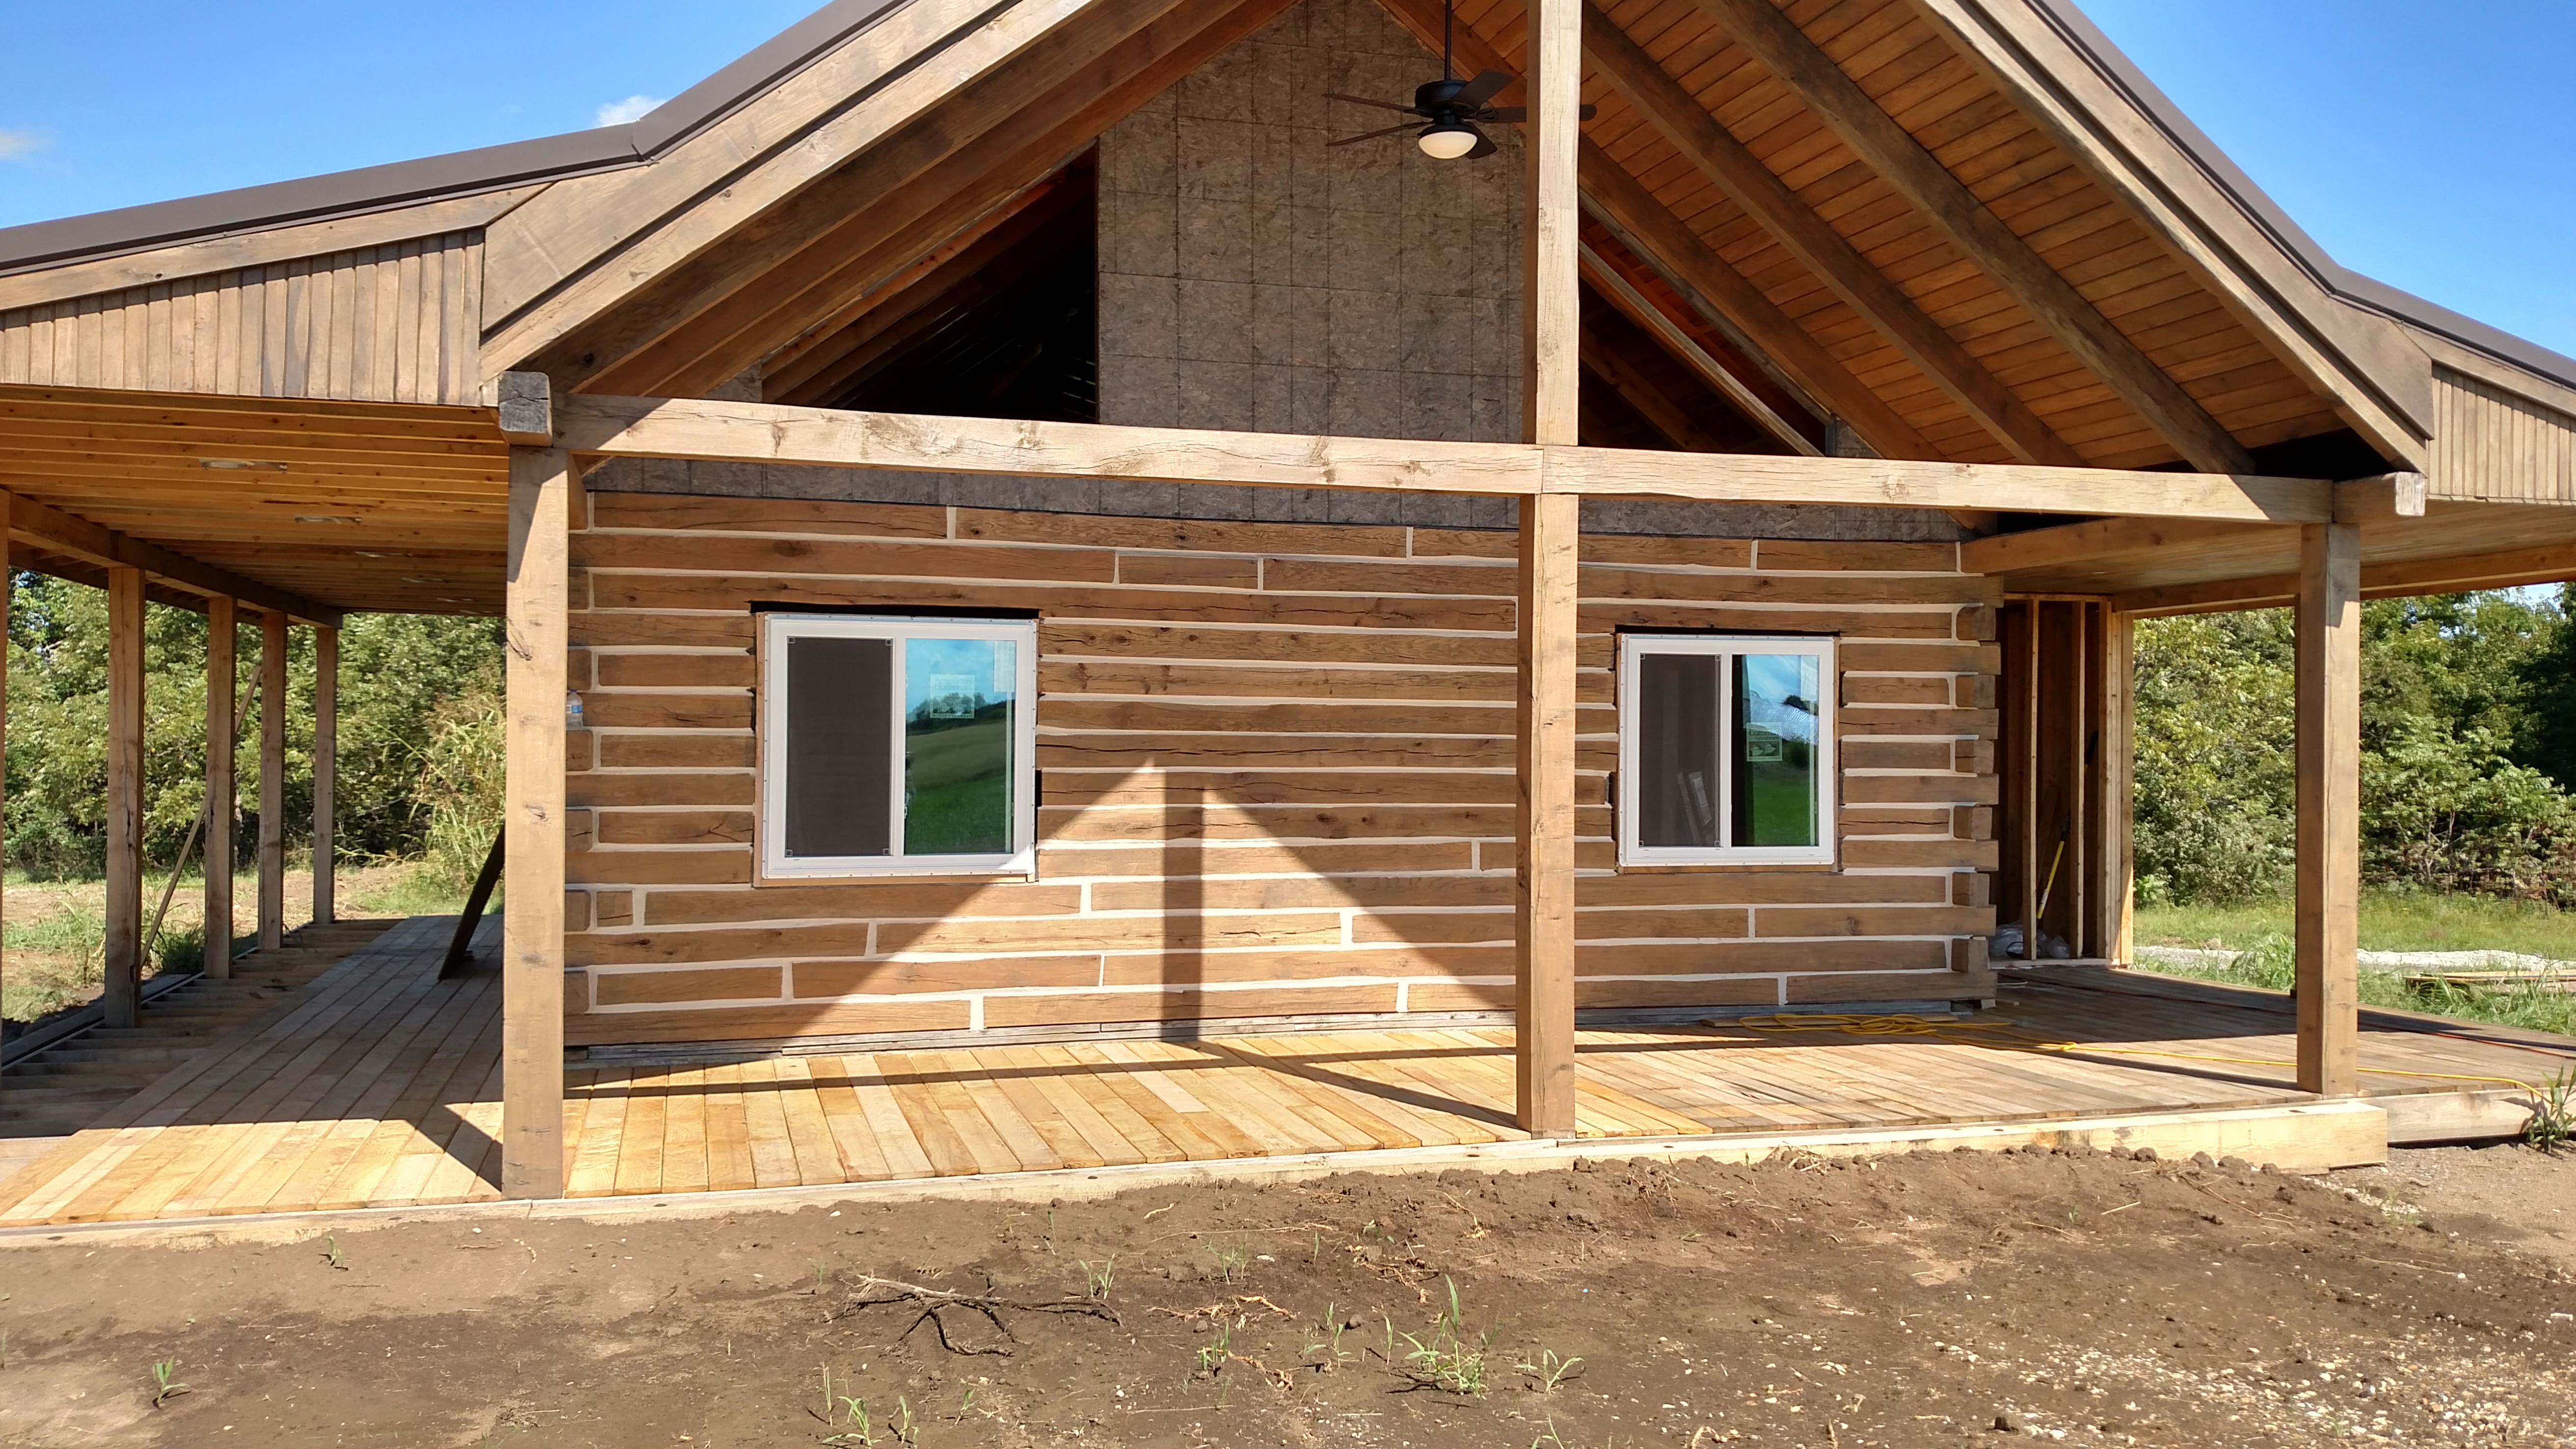
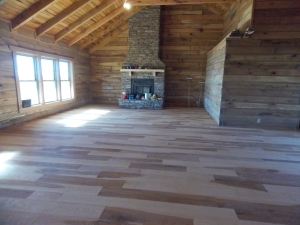
These are a few tips and tricks from Schutt Log Homes and Mill Works to keep your natural hardwood flooring looking amazing year after year.
Schutt Log Homes and Mill Works
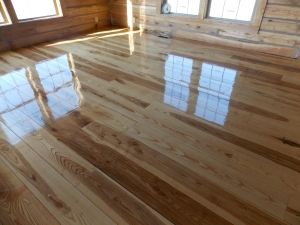
FINISH
A newly applied finish on your floor may appear to be too glossy at first. Keep in mind that as the floor ages and reaches its maximum durability the “sheen” will “die down”.
MOVING OF FURNITURE
No furniture for 24-36 hours. Place furniture down, do not scoot or slide. Curing of the floor takes thirty days to cure good and hard. Take extra care for the first days until cured. When moving a refrigerator onto finished floor use quarter- inch plywood or masonite to protect floor, heavy cardboard does not always allow enough protection.
AREA RUGS
No area rugs or throw rugs for one month to allow floor to cure in all areas. Air flow helps the curing process.
FLOOR PROTECTORS
There are “Scoot-N-Glides” which are made for wooden chair legs, to protect the wood flooring from being scratched. Also, available is a thick felt for other types of chair legs. “Scoot-N-Glides” need to rest flat on floor for optimum protection. If chair legs are cut at an angle, the glide can do damage to the floor.
SWEEPING
For maximum life and wear-ability of floor finish, keep floor as clean as possible from all substances that can scratch floors such as sand, gravel, etc. This can be accomplished by daily sweeping with floor brush sweeper attachment, dust mopping, or broom sweeping.
MOPPING
Harsh alkali cleaners may damage the finish and/or floor and should not be used. After 4 weeks of curing of finish, clean floors with a slightly dampened mop using 1 gallon of lukewarm water with 1 cup of white vinegar. A small area at a time wiped dry as you go will give the best results. Do not allow water to stand on floor and use as little water as possible. The “water/vinegar solution” will remove accumulated grease and sticky substances not removed by dry dust mopping or vacuuming. Remove food spills and other various liquids as quickly as possible with a dry or damp cloth.
WATER AND WOOD
NEVER use excessive amounts of water on wood floors. Even though urethane products are very water resistant, water can seep into open cracks, causing the finish to break loose from the wood, resulting in white spots, chipping or peeling. Remember water is an enemy of wood flooring: do not use excessive amounts.
SPECIAL CLEANING
To remove grease, rubber heals marks or similar stubborn stains which might remain after a normal cleaning with “water/vinegar solution”, wipe with a cloth dampened with mineral spirits. Make sure that excessive amounts of fluid used for cleaning are not deposited on the floor. (Use rubber gloves!)
Schutt Log Homes and Mill Works
WAX OR MURPHY’S OIL SOAP
Do not wax floors – no paste wax – no Endust – and NO Murphy’s Oil Soap. Once the finish has been applied to the wood there is a protective coating over the wood, and these products will lay on top of the finish dulling the appearance and catching dirt. They will keep an additional coat of finish from being applied should it ever be necessary.
SCUFFS & SCRATCHES
Bear in mind all surfaces even concrete will scratch. Toe-nails on dogs can have a scratching effect on the finish, be careful to keep toe-nails trimmed. Rubber sole shoes on “fresh finish” can also leave scuffs. Should you have a scratch in the floor, do not attempt to repair the scratch. First, call our office so that we can determine the best course of action.
HIGH-HEEL MARKS
Since wood is a product of mother nature, a high degree of pressure from a concentrated point like a high heel can crush the wood fibers leaving a “small indention” in the floor. The quality of the finish has no bearing as far as strengthening the wood fibers.
EXPANSION & CONTRACTION
The weather plays a part in this area. Since the wood is susceptible to the humidity in the air, natural wood fibers will pull in moisture causing the wood to expand in spring and summer months. During the winter months when the house is dry, there will be a “shrinking” effect in the width of the boards resulting in cracks. This is a natural trait of wood floors. A humidifier will help stabilize this condition. Wood floors need to be able to expand and contract with temperature and humidity.
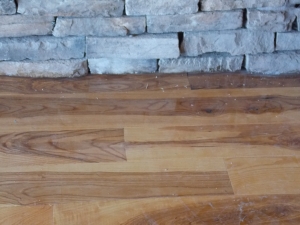
CUPPING OF BOARDS
Should the individual boards “cup” at the edges, this is a sign of water damage from an outside source such as a leaking sink, back door threshold, refrigerator water line, etc. The floor will appear to have a “washboard” effect. Although you may not see visible signs of water, the wood will act as a sponge and will soak moisture up in a capillary manner through the grain.
1. Severe Cases of Water Damage Boards must be replaced, area re-sanded, and finished.
2. Average Water Damage Boards allowed to dry for 4 to 5 weeks, area re-sanded, and re-finished.
3. Slight Water Damage Area allowed to dry, cupping may recede.
ADDITIONAL COATS OF FINISH
Floors can be reconditioned with an additional coat of finish, if it has not been waxed, and “water/vinegar solution” has been used on a regular basis. Wax will keep an additional coat of finish from adhering to previous coats.
PROTECTION FROM OTHER SUBCONTRACTORS
After floor has been finished should a painter or other subcontractor do any touch-up work, be sure to have him put down drop cloths. Any warranty service which requires moving of heavy furniture or appliances will not be the responsibility of Schutt Log Homes, LLC. or its subcontractors. Furniture and/or appliances must be moved prior to the service call. Unload the refrigerator before moving.
Schutt Log Homes and Mill Works- oakcabins.com
Schutt Loh Homes and Mill Works
LWS